Keeping your ESXi hosts up-to-date is crucial for their optimal performance. If you don’t have vCenter, updating the host can become quite tricky. But don’t worry, because I have your back! In this blog post, I’ll show you how to update your ESXi hosts using PowerCLI.
This process is quite simple when you have a vCenter, using Lifecycle Manager, formally known as Update Manager, you can select a cluster and remediate the whole cluster letting vCenter manage everything (placing the host in maintenance mode, applying the patches/updates/upgrades, rebooting if needed, removing from maintenance mode and moving on to the next in the list) with little to no input from your side.
For example, if you’re running your own lab where the vCenter is running inside of the same host you want to update this process will not work as the host needs to be in maintenance mode for the patching to proceed.
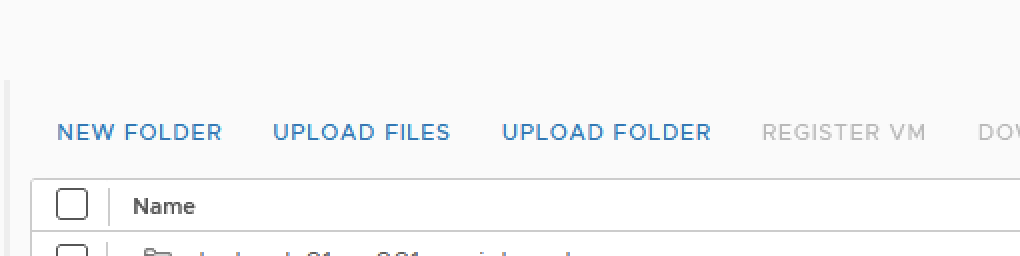
At first, the process may seem intimidating, but trust me, it’s not that hard. The first step involves downloading the update file from the official VMware site. After you’ve got the file, extract the ZIP and upload the folder structure to the datastore. Uploading this structure becomes easier when you use the UPLOAD FOLDER option in the vCenter GUI.
Once the upload is finished, you’ll need to power off all the running VMs in the ESXi host and place the host in Maintenance Mode. After that, you can run the command on PowerCLI and leave it until it’s done. Yes, it’s as simple as that!
What would usually take you hours to do, will now take you just minutes with PowerCLI. You don’t need to worry about placing the ESXi host in maintenance mode, applying patches, upgrades, or even anything. PowerCLI does everything for you!
Updating your ESXi hosts without vCenter couldn’t be easier. It’s efficient, fast, and less error-prone. Updating your VMware environment is essential to keep things running smoothly and securely.
Download the update that you want to apply from the official vmware site
https://customerconnect.vmware.com/patch
After you’ve downloaded the file extract the ZIP file and you’ll get a folder with files and folders inside

The easiest way to upload this folder structure to the datastore is to use the option UPLOAD FOLDER from the vCenter GUI
After the upload is complete power off all the VMs that are running inside of the ESXi host and place it in Maintenance Mode or let the PowerCLI place it for you.
You can now run the following command
connect-viserver <ESXi IP ADDRESS>
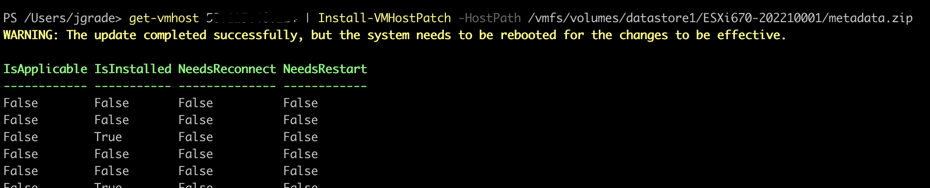
get-vmhost <ESXi IP ADDRESS> | Install-VMHostPatch -HostPath <path tot he folder>/metadata.zip
In my case, it’s:
get-vmhost <ESXi IP ADDRESS> | Install-VMHostPatch -HostPath /vmfs/volumes/datastore1/ESXi670-202210001/metadata.zipAfter this, you’ll just need to let it run until it’s completed

When it’s completed you’ll get this information
And voila that is it! You have your ESXi host updated using PowerCLI.
Just K.I.S.S and see you all next time
Leave a Reply