A couple of weeks back, I found my lost Raspberry Pi 1, and I wanted to put it into good use.
Since I built my lab, I had a Virtual Machine running Dynamic DNS service from noIP to “link” my PublicIP with a DNS name to be able connect to my jump-server from the internet (outside of my local LAN). This is necessary because your PublicIP is not static (unless you paid for one) and it changes from time to time, and let’s be frank, it’s easier to remeber a name than an IP 😉
This was all fun and games except when something would go wrong on my ESXi hosts, and VM would reboot, or when your better half asks you to power off the server cuz it was making too much noise 😀 (I bet you all went through this).
The plan is simple, use RPi (Raspberry Pi) to host the DDNS service as well as a Wireguard VPN Server. For now, we will focus only on the DDNS service.
What will you need to perform this:
- Raspberry Pi # (does not matter the version)
- SD or microSD card depending on the Raspberry Pi version you have
- SD/microSD card reader
- Power supply for your RPi
- Network cabel (CAT 6 in my case) or you can use the builtin Wifi that you RPi might have
- noIP account with a host already created
Steps involved
- Install any Raspberry OS flavour on your RPi
- Install and configure the noIP
How to install and OS into your Raspberry Pi
For this tutorial I will use the RPi Imager that you can download from the official Raspberry Pi webside
Once you have it installed just run it and follow the wizzard
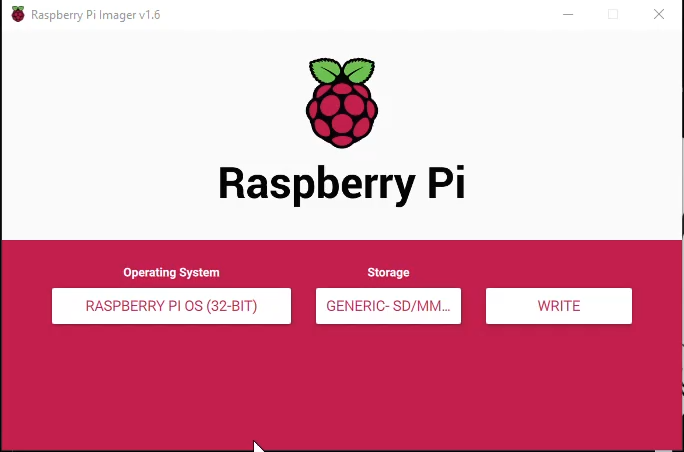
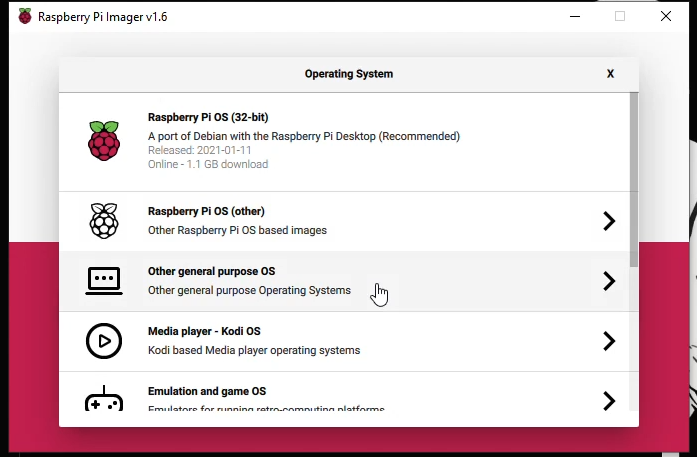
First let us select the Operating System. In my case I will install Ubuntu Server 20.10 as I don’t need GUI for this project. Because they don’t offer Ubuntu Server for RPi 1 I opted for the 32bit (RPi 2/3/4/400)

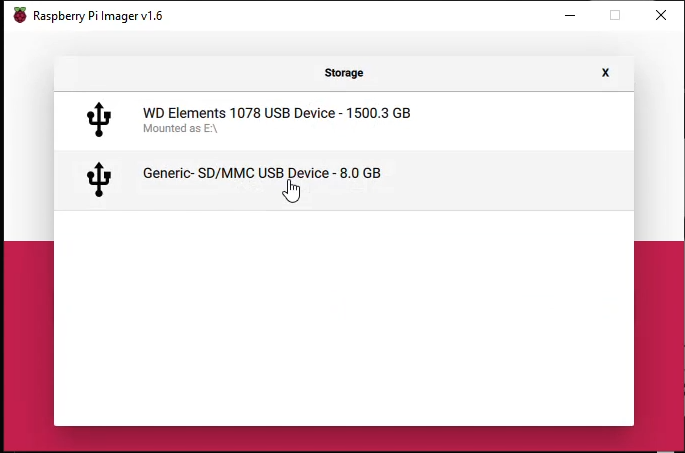
Then Select your storage device (pay close attention you are selecting the correct one)
Press Write and Yes to continue and in a couple of minutes your RPi will be installed and ready to rock, well, almost….
After the OS is installed I had to enable SSH as I won’t have access to a monitor close to the RPi.
How to enable SSH on a fresh RPi installation
After the installation is completed you should have a new drive (SD/microSD card) connected to your computer. In my case it’s the letter I: The letter might be different in your case but the drive name will always be boot
Navigate to the root folder of boot drive and create a file called ssh with no extension and leave it empty
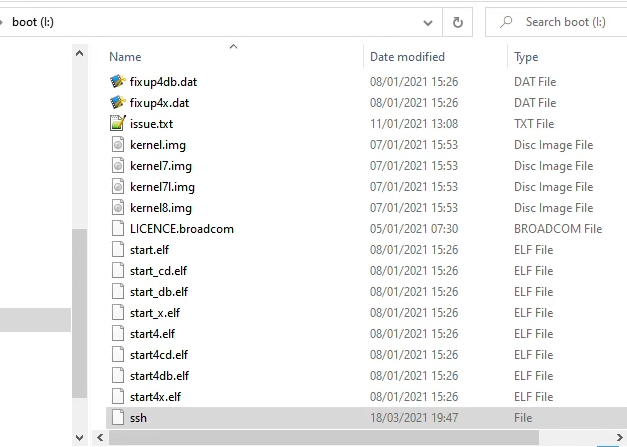
And that is it, SSH is enable on your RPi
Connecting to your RPi and installing the noIP service
First step is to connect your RPi to the network using the network cable, plug the power supply and let it boot up. Wait for one minute, connect to your Router administrator page and search for the connected device called RASPBERRYPI and copy the IP address.
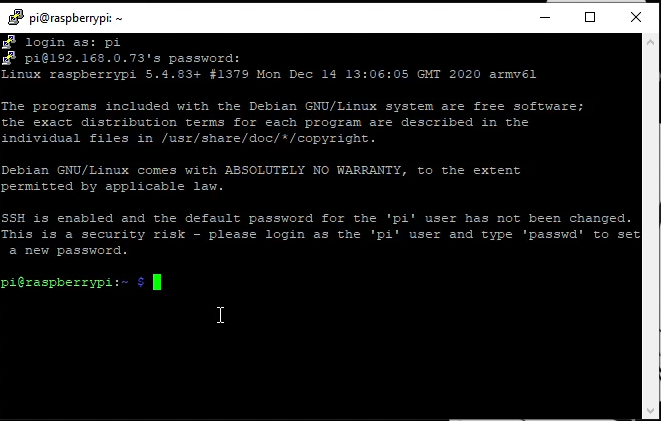
You can use PuTTY to establish a connection to the RPi
Default credentials are:
user: pi
password: raspberry
After you login the next step is to update and upgrade your RPi installation. For that type the following commands:
$sudo apt-get update
$sudo apt-get upgrade

Create a folder on your home directory called noip and wget the installation files for noip software inside with the commands:
$ mkdir noip
$ cd noip
$ wget https://www.noip.com/client/linux/noip-duc-linux.tar.gz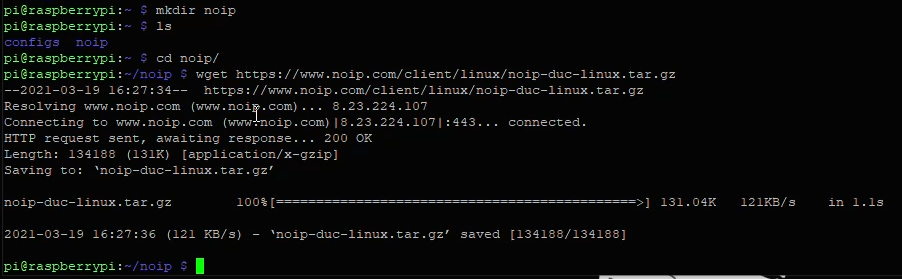
After the download is completed, unpack the file, go into noip-2.1.9-1 folder and follow the commands
$ tar vzxf noip-duc-linux.tar.gz
$ cd noip-2.1.9-1
$ sudo make
$ sudo make install
Now it’s time to follow the instructions.
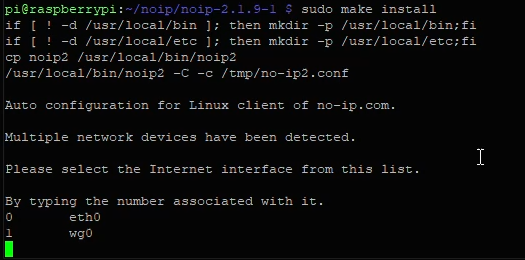
In this case select 0 as the RPi is connected using a network cable.
Next you will be asked for your no-ip.com account and password
And if you want to update all your hosts. I selected no but ended up choosing all as I have 2 right now.
Select the interval update I left it as default.
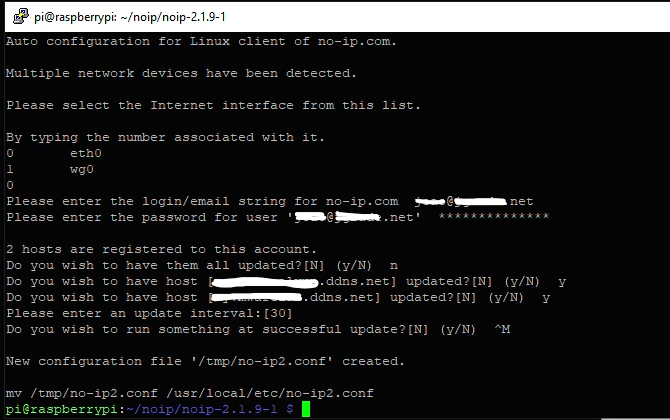
After this point noIP service is configured on your environment.
To run the service and check the status run the following commands
$ sudo /usr/local/bin/noip2
$ sudo noip2 -S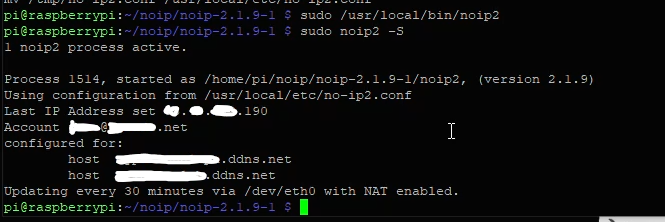
Now that the service is runnig fine the next thing you’ll wanna do is to start the service once your RPi starts.
Adding noip2 service to autostart
To perform this task we will use the systemd feature from Ubuntu.
Create a file on /etc/systemd/system/noip2.service using the folowing command:
$ sudo touch /etc/systemd/system/noip2.service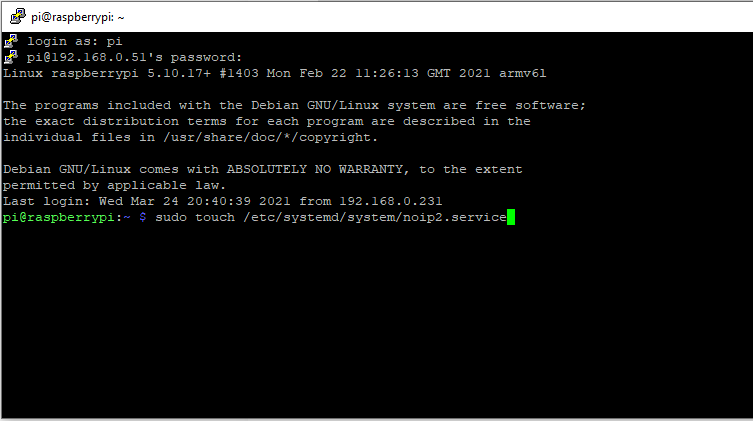
After the file is created edit it and copy the following content inside:
$ sudo vi /etc/systemd/system/noip2.serviceOnce vi is open just press “i” once so you can insert text and paste the below lines inside
[Unit]
Description=noip2 service

[Service]
Type=forking
ExecStart=/usr/local/bin/noip2
Restart=always

[Install]
WantedBy=default.target
Once you’re finishe type “:wq” this will save your file and close it.
After run the folowing command:
$ sudo systemctl daemon-reloadThis will reload your systemd so it’s aware of the new unit you have just created.
Now you can get status, start and stop your sevice using the folowing commands:
$ sudo systemctl status noip2
$ sudo systemctl start  noip2
$ sudo systemctl status noip2
$ sudo systemctl stop   noip2
$ sudo systemctl status noip2
To enable the autostart issue this command
$ sudo systemctl enable noip2And that makes it for today.
You have just installed noIP in your RPi and set it to autostart on every boot.
KISS 😉
References:
https://ubuntu.forumming.com/question/7826/can-39-t-get-service-noip2-to-start-on-boot
https://www.noip.com/support/knowledgebase/install-ip-duc-onto-raspberry-pi/
Leave a Reply